Description about M.S. Word Screen:-
- Title Bar:-
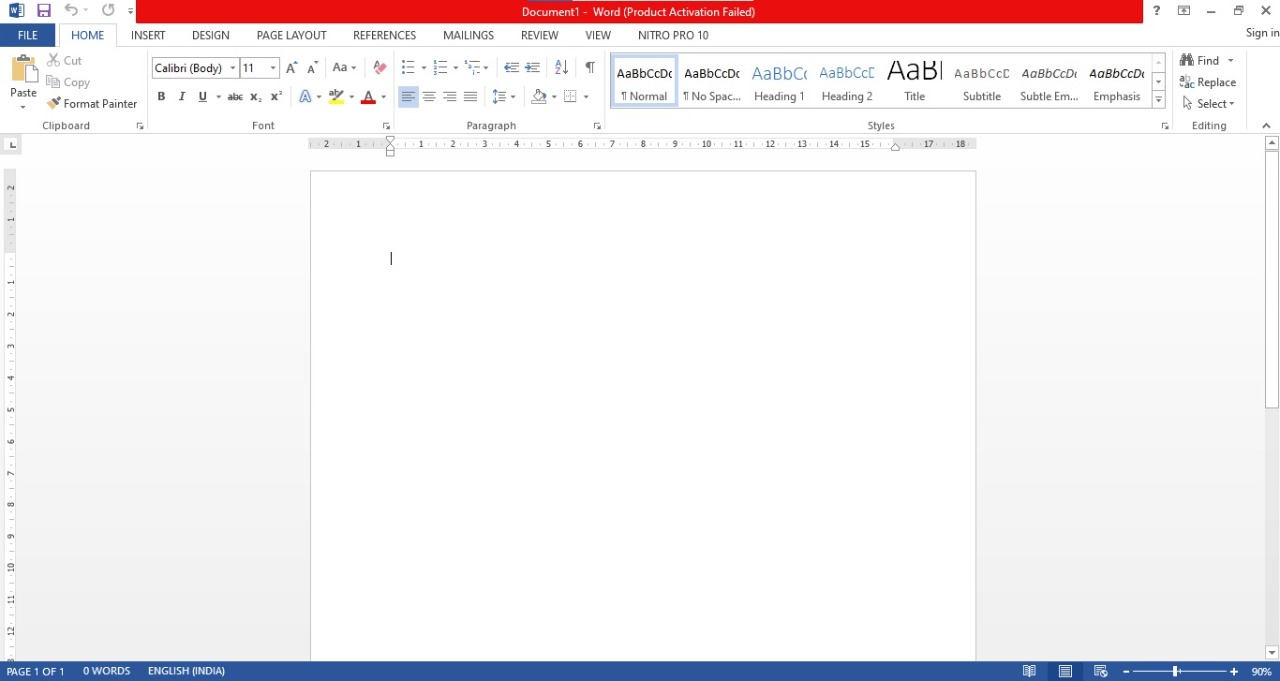
Title bar shows the name or the title of the current document. It is the 1st row of the M.S. Word Window.
- /Max./Close Option:-
In Title Bar there are present 3 options:- Minimize Option (To Minimize the current Window), Maximize Option (To Maximize the current Window) and Close Option (To close the current Window).
- Menu Bar:-
The Menu bar appears just below the Title Bar of the M.S. Word window. It consists of 9 options (File, Edit, View, Insert, Format, Tools, Table, Window and Help), each menu bar option represents a category of commands. When anyone of the 9 menu bar options is chosen, its corresponding pull-down menu gets displayed with a list of commands.
Menu Bars and their Options:-
- File Menu:-
New, Open, Close, Save, Save as, Save as Web Page, File Search, Permission, Versions, Web page preview, Page Setup, Print Preview, Print, Send to, Properties.
- Edit Menu:-
Can’t Undo, Can’t Repeat, Cut, Copy, Office Clipboard, Paste, Paste Special, Paste as Hyperlink, Clear, Select All, Find, Replace, Go to, Links, Object.
- View Menu:-
Normal, Web Layout, Print Layout, Reading Layout, Outline, Task Pane, Toolbars, Ruler, Document Map, Thumbnails, Header and Footer, Footnotes, Markup, Full Screen, Zoom.
- Insert Menu:-
Break, Page numbers, Date and Time, Auto Text, Field, Symbol, Comment, Reference, Web Components, Picture, Diagram, Text Box, File, Object, Bookmark, Hyperlink.
- Format Menu:-
Font, Paragraph, Bullets and Numbering, Boarding and Shading, Columns, Tabs, Drop cap, Text Direction, Change Case, Background, Theme, Frames, Auto Format, Styles and Formatting, Reveal Formatting, Object.
- Tools Menu:-
Spelling and Grammar, Research, Language, Fix Broken Text, Word Count, Auto Summarize, Speech, shared Workspace, Track Change, Compare and Merge Document, Protect Document, Online Collaboration, Lettering and Mailings, Marco, Templates and add-Ins, Auto Correct Options, Customize, Options.
- Table Menu:-
Draw Table, Insert, Delete, Select, Merge Cells, Split Cells, Auto Fit, Heading Row Repeat, Convert, Split Table, Table Auto Format, Sort, Formula, Hide Gridlines, Table Prosperities.
- Window Menu:-
New Window, Arrange All, Compare Slide by Side With, Split.
- Toolbars:-
Toolbar is a set of buttons located below the Menu bar in the various M.S Office programs. A toolbar contains buttons, boxes and menus that allow us to perform tasks more quickly than of using the Menu bar and related menus. Toolbars are very helpful and convenient in quickly exciting commands without having to go through menus.
There are Mainly Two Toolbars which we must use:-
- Standard Toolbar, 2. Formatting Toolbar.
- Standard Toolbar:-
Below the row of the Menu bar is a row of buttons which provides the facility to create a new file, open a file, save a file, print the file, it also gives the facility to cut or copy a portion of document and paste in desired place in our document.
In standard toolbar many tools are present there. Some tools are there:-
- New:-
It is used to create a new blank document based on a normal template.
- Open:-
It is used to open a saved file.
- Save:-
This option is used to save the active file with its current file name, location and file format.
- Save As:-
With the help of this option we can save any file with different names and locations.
- E-Mail:-
It is used to send the contents of the document by mail.
- Print:-
It is used to print the document’s soft copy into the hard copy of the active file.
- Print Preview:-
It is used to show, how the document will looking when we print it.
- Grammar and Spelling:-
It is used as spelling, grammar and written style checker. Red color is show spelling mistake and Green color is show grammar mistakes.
- Cut:-
It is used to cut any matter like Picture or Text in the document.
- Copy:-
It is used to create duplicate copy in the document.
- Paste:-
This option is used to paste the copied or cutting text in the document.
- Format Painter:-
It is used to copies the format from a selected object or text and applies to other objects and text.
- Undo:-
It is used to reverses the last commands.
- Redo:-
It is used to reverse the action of undo button.
- Zoom:-
It is used to enlarge or reduce the display of the active document.
- Formatting Toolbar:-
The formatting toolbar contains commands in the form of buttons that help us quickly select formatting and layout features, such as make bold, increase font size, underline italicizing something’s in the document.
In formatting toolbar many tools are present there. Some tools are there:-
- Style:-
It is used to select the style to apply in the paragraph.
- Font:-
It is used to change the font of the selected text.
- Font Size:-
It is used to changes of the size of the selected text and numbers.
- Bold:-
It is used to marks selected text and numbers into Bold.
- Italic:-
It is used to marks selected text and numbers as Italic.
- Underline:-
It is used to underlines selected texts and numbers.
- Align Left:-
We can alignment text in left way to enhance the appearance of the document.
- Align Center:-
Align center used to center way to enhance the appearance of the document.
- Align Right:-
In this way we enhance the appearance of the document in the right side.
- Justify:-
In Justify the text lines are justified to both margins.
- Numbering:-
We can separate in a list by beginning each item with a number.
- Bullets:-
It is used to make the sign of beginning of each paragraph.
- Increase Indent:-
Increase indent used to indent the left edge the paragraph.
- Decrease Indent:-
In decrease case the indent opposite the increase indent.
- Border:-
This option is used to select and apply different kinds of border on selected page, paragraph or on all pages.
- Highlight:-
It is used to fill any color in the background of active font, word, paragraph and whole the document.
- Font Size:-
This tool is used to change the font color.
- Viewing Other Toolbars:-
This option is used to see and stay connects with a user in Word Window. It is also used to disable toolbar. In other word it is used to enable and disable tools bar of window.
To enable or disable toolbars follow these Steps:-
- Click on View menu from the Menu Bar.
- Select a Toolbars
- Select Standard, Formatting, Drawing….. Etc, as our own wish.
Other toolbars can be selected if we wish.
- Click on it to enable.
Some Processor can be used in case of disable any toolbar.
- Ruler (Horizontal & Vertical):-
The Ruler lets us Make changes to margins and indents and also help us to create document as per dimensions required.
- Scroll (Horizontal & Vertical):-
Through scroll we can go anywhere, Like:- Up and Down, Left and Right in our document.
- Status Bar:-
Status bar also known as Status Area. In this bar we can see section number, current line number, Current/ Total pages in the document… Etc.
- Finding and Replacing Text:-
The find and replace option is a convenient way of searching for a word in a document and replacing it with something else.
- Click on Edit Menu from the Menu bar.
- Click on Replace
The Find and Replace dialog box papers.
- Type the Text which we want to find(write on Find With) and Replaced (write on Replace With)
- Click on Find Next to start the search.
Word highlights the first matching word it finds.
- Click on Replace All
The words are replaced with new words.
- Click on Ok to close the dialog box.
- Changing the Case of Text:-
The change case option lets us automatically change selected characters from upper case to lower case or lower to upper case and other cases. We can change the case of the text in our document without retyping the text.
The change Case is Five types:-
- Sentence Case
- Lower Case
- Upper Case
- Title Case
- Toggle Case
- Sentence Case is used to changes the first character of selected sentence to capital latter and all other to small latter
- Lower Case is used to changes all characters into small latter.
- Upper Case is used to changes all characters into capital latter.
- Title Case is used to changes the first character of each word to capital latter.
- Toggle Case is opposite of all other cases in word.
- Select the text that we want to change to a new case style.
- Click on Format Menu from the Menu bar.
- Click on Change Case. The Change Case dialog box appears.
- Click on the Radio button of the case style we want to use.
- Click on Ok to confirm our selection.
The text we selected changes to the new case style.
- Creating A Bullet or Number List:-
We can separate items in a list by beginning each item with a bullet or number. We can select any kind of Bullets and Numbers which we want to applied on the paragraph.
- Select the text which we want to display as bulleted or numbers list.
- Click on Format Menu from the Menu bar.
- Click on Bullets and Numbering. The Bullets and Numbering dialog box appears.
- Click on the tab for the type of list which we want to create.
- Click on the Style which we want to use.
- Click on Ok to confirm our selection.
- Creating A Drop Cap:-
We can create a large capital letter at the beginning of a paragraph to enhance the appearance of the paragraph. This option is used to enlarge the first character of the paragraph.
- Click on the paragraph which we want to display a Drop Cap.
- Click on Format Menu from the Menu bar.
- Click on Drop Cap The Drop Cap dialog box appears.
- Click on the type of drop cap which we want to create.
- Then click on the Font which we want the drop cap to display.
- To change the number of lines, use the up & down arrows with the mouse.
- Click on Ok to create the drop cap. The drop cap appears in our document.
- Adding A Border:-
This option is used to select and apply different kinds of Borders and Shading on selected page, paragraph or on all pages. We can add a border to the text in our document to draw attention to information.
- Select the text for which we want to display border.
- Click on Format Menu from the Menu bar.
- Click on Borders and Shading The Borders and Shading dialog box will appear.
- Click on any option (Borders, Page Border and Shading).
- Click on Ok to add the border to the document.
The text we selected displays the document.